


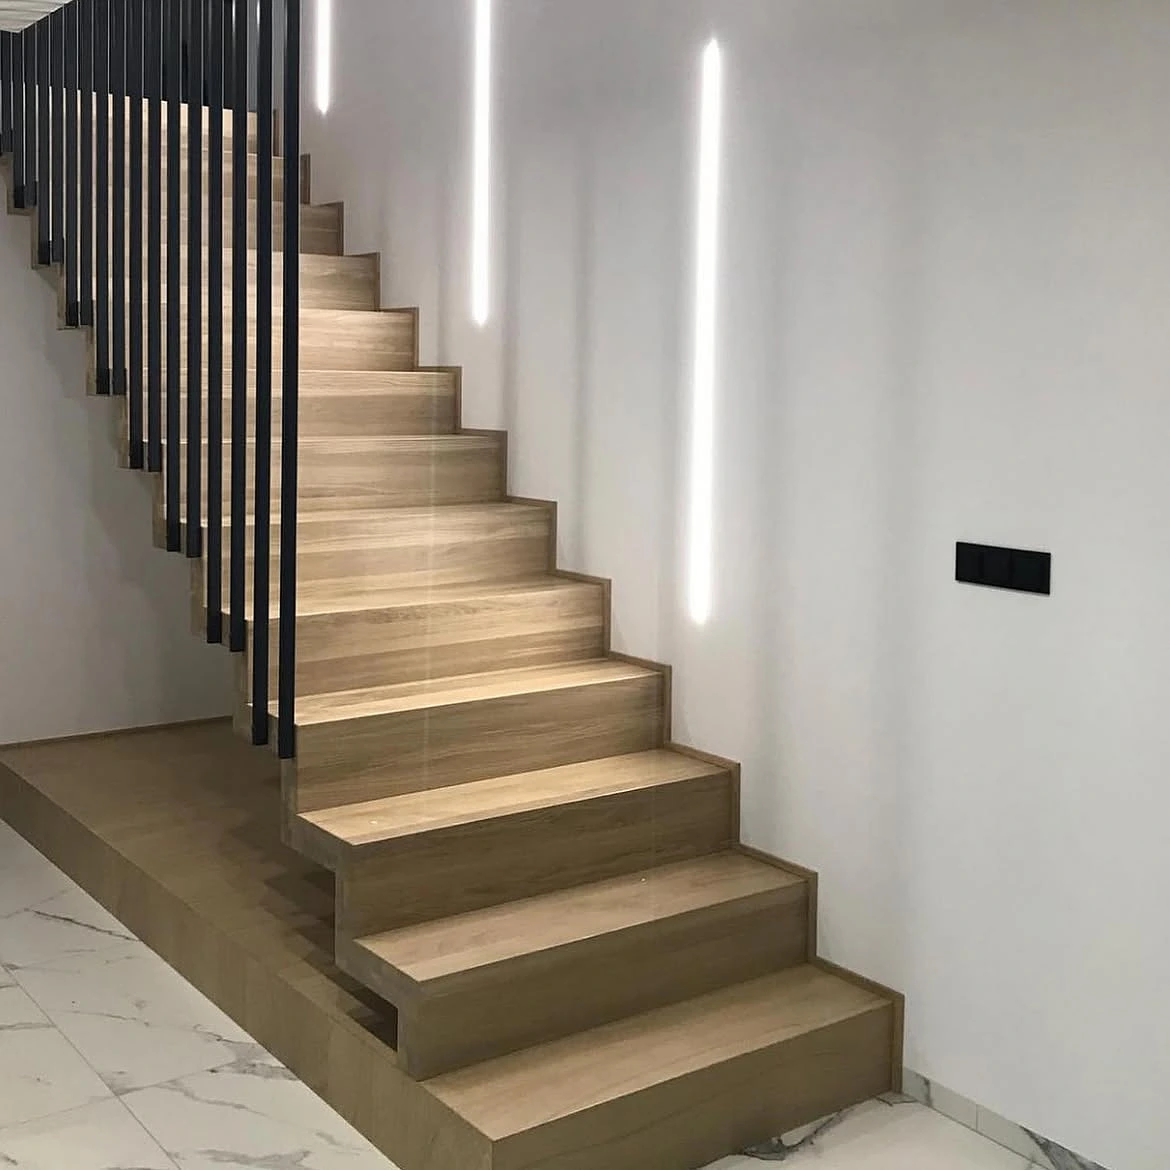
The 57 inch rule does not work on stairs. People use it anyway, snap a level line off the bottom step, hang 9 frames to it, and end up with the whole group sitting at knee height by the top of the flight.
It goes wrong because the rule was written for a flat wall. A staircase has no single floor to measure from.
Measure From The Tread, Not The Floor
The 57 inch figure comes from galleries, where it stands in for average standing eye level. It works fine in a room because everybody looking is on the same level.
On a flight, each piece needs its own measurement. Go 57 inches straight up from the tread directly underneath it. All your centers then sit on one line running parallel to the nosings, and the group climbs at the same angle as the stairs.
How To Mark It
Cut a stick to 57 inches. Stand it on a tread, mark the wall at the top of the stick, move up 2 or 3 treads and do it again. Join the marks with a chalk line and hang everything to that. It takes about 10 minutes.
- Keep 2 to 3 inches between frames.
- Hold the lowest frames 4 to 6 inches above the nosing.
- Tall vertical pieces work better here than wide ones.
- Slim frames, since depth is the thing you cannot spare.
Glare
Your viewing angle changes with every step you take, so glass that looks fine from the bottom will throw light back at you halfway up.
Stretched canvas is the safest thing to hang on a staircase because there is no glaze on it at all. Matte prints are next. Standard glass and high gloss are the two to skip, and non glare glass sorts out most of it where a piece has to be framed.
What You Cannot Put On Those Walls
Say you found floating shelves, 8 inches deep, and wanted to run them up the stair wall with plants on them. You cannot.
| Requirement | Figure | What it rules out |
|---|---|---|
| Clear width above handrail height | 36 inches minimum | Anything sticking into the flight |
| Handrail projection each side | 4.5 inches maximum | Chunky rails, wide brackets |
| Gap between handrail and wall | 1.5 inches minimum | Paneling that tightens the gap |
| Headroom, whole flight | 6 ft 8 in minimum | Pendants hung low over the stairs |
| Enclosed space under stairs | 1/2 inch gypsum board | Raw timber cubbies, open framing |
Nothing on the stair walls should stick out more than about 2 inches. Those figures come from IRC R311.7. A shoulder catching something on the way down is how people fall on stairs.
Wainscoting Works
It builds out about 1/2 to 5/8 inch and it sits flat, so it clears everything in that table. That is why it shows up on so many stairwells.
Check behind the handrail after it goes on. Paneling can eat that 1.5 inch gap and you will not spot it until somebody measures.
Paint In A Shaft With No Window
Most enclosed stairwells in a two house story have no window in them anywhere. All the light in there comes from fixtures, so a color you picked in a bright kitchen can look completely different once it is on that wall.
Light reflectance value is the number to look at. It runs from 0 for black to 100 for pure white, and under about 50 a color starts soaking up the little light you have. That 50 is a rough guide and not a rule, since nothing official sets it. Dark colors still work down there. They need more light to go with them.
Sheen is the bigger decision in a stairwell. These walls take hands, shoulders, vacuum cleaners and grocery bags all week.
| Finish | Wipes clean | Light bounce | Verdict |
|---|---|---|---|
| Flat | No | Lowest | Marks permanently, skip it |
| Eggshell | Yes | Low | Safe default |
| Satin | Yes | Moderate | Best with no window |
| Semi gloss | Yes | High | Trim and rails only |
Lighting The Flight
Interior stairs have to be lit under code, and a flight with 6 or more risers needs a switch at both floor levels so nobody crosses a dark run to reach one.
In an enclosed stairwell I would put the money into a continuous LED strip along the base of each wall. It lights the treads where your feet are, and it adds nothing to the thickness of the wall. It also helps a narrow shaft feel less narrow, because you can see where the floor meets the wall all the way down.
- Continuous strip at the wall base or under the nosing.
- One wall washer at the top instead of a light over each frame.
- Picture lights angled near 30 degrees so the glare goes downward.
- Flush or semi flush ceiling fixtures, no pendants into the headroom.
The Space Underneath
This is where most people want to end up, and it is also where a lot of the projects online are wrong.
Enclosed usable space under a stair has to be covered on the enclosed side with 1/2 inch gypsum board, walls, surfaces and soffits. It is a fire rule. The raw timber cubbies you have been saving pictures of do not meet it. The requirement is R302.7. Board it, then panel or shelve over the board.
What works down there, roughly in order:
- Closed cabinetry with push latches, flush to the wall.
- A bench with shoe storage under it.
- Drawers built into the risers.
- A reading nook, if you have the headroom and will use it.
Two Things This Climate Does
Sand On The Treads
Grit tracked in from outside is harder than most carpet fiber and it wears a stair runner faster than the same runner would wear anywhere else in the house. Low pile wool or a flatweave holds up. Deep pile hides the sand instead of releasing it, which is worse for the runner.
Heat Collects At The Top
Warm air moves up the stairwell through the day in a two story house, so the upstairs landing ends up the warmest corner by August. It is a small effect. Still worth knowing before you stack soft furnishings at the top of the run.
Treat It As Part Of The Living Room
The flight is visible from the living area, so it should not be decorated as a separate space.
- Run the living room wall color onto the stairwell.
- Repeat the same wood tone in the treads or the rail.
- Pick up one metal finish from the room in the rail brackets.